TL;DR:
- Planning a detailed wedding photo timeline in Oahu ensures all key moments are captured despite unique island logistics. It aligns vendors, preserves golden-hour light, and reduces stress by providing clear schedules tailored to local traffic, weather, and venue rules. Collaborating with an experienced photographer who knows the terrain enhances flexibility and guarantees a memorable, smoothly run day.
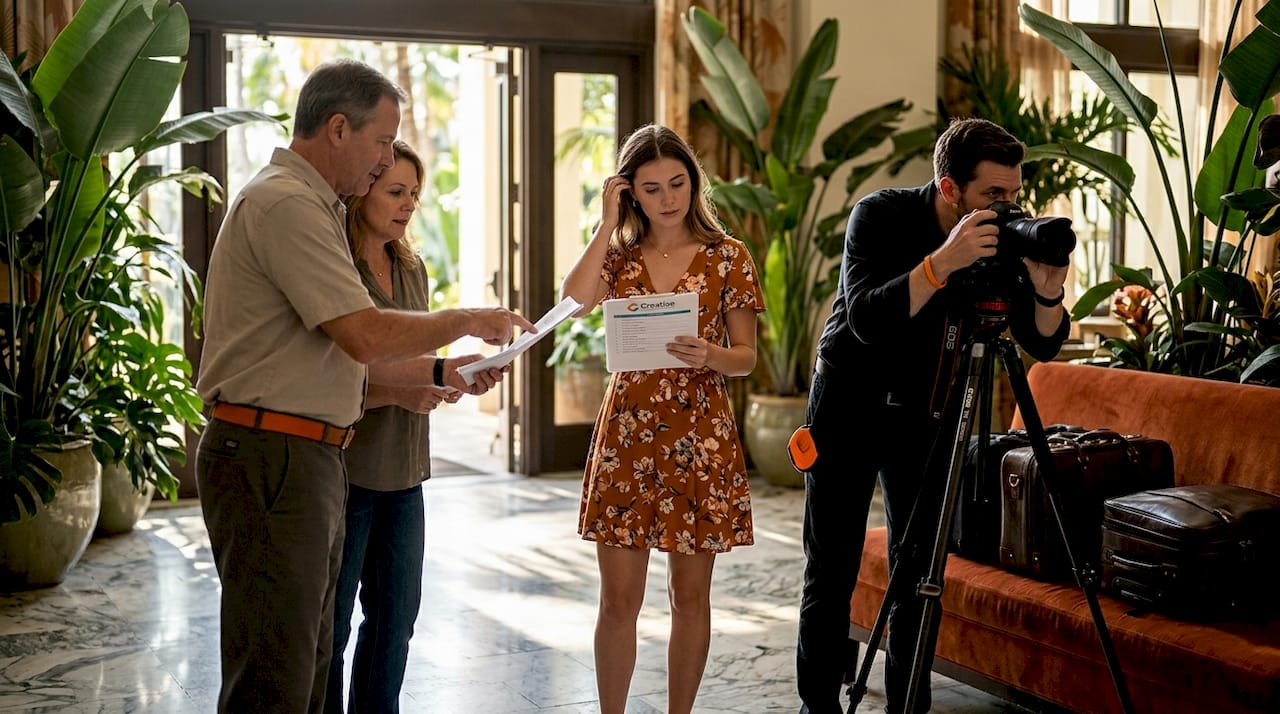
Planning a wedding on Oahu is exciting, beautiful, and, if you’re honest, a little nerve-wracking. One of the biggest fears couples share is missing key moments because nobody coordinated the photography schedule properly. A rushed ceremony exit, a forgotten family portrait, a sunset that came and went while everyone was still eating appetizers. These aren’t just inconveniences. They’re irreplaceable memories. The good news is that a well-built photo timeline removes almost all of that anxiety, giving you a clear roadmap from the moment you start getting ready to the final send-off under the stars.
Table of Contents
- Why a wedding photo timeline matters in Oahu
- What you need: Tools and info required for your timeline
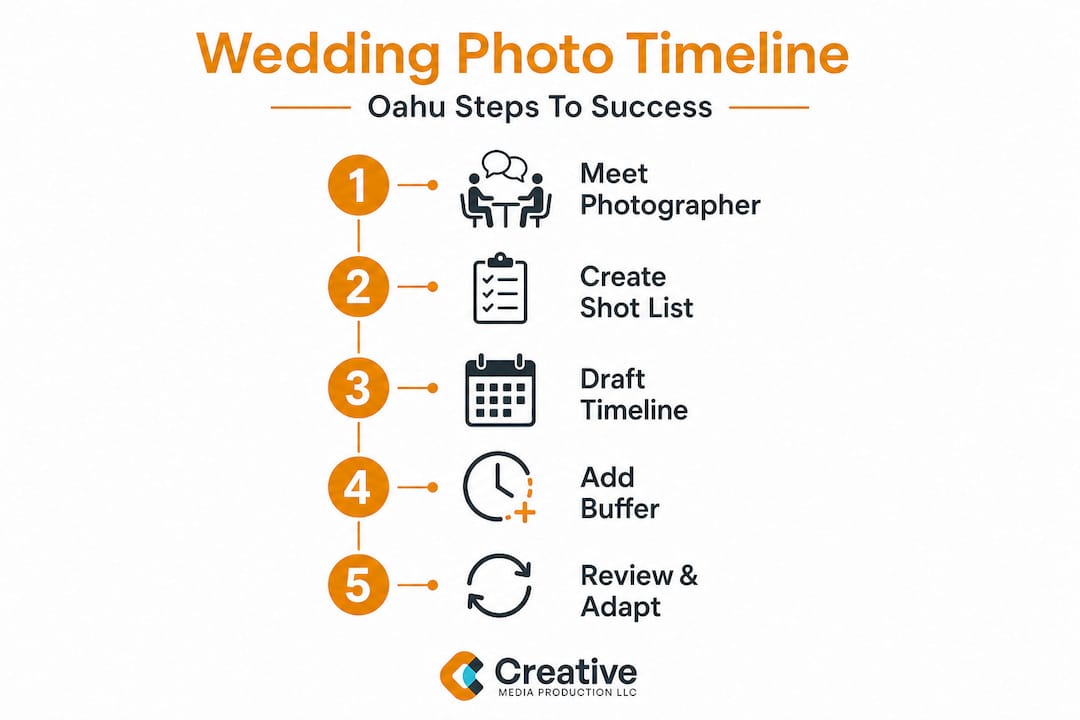
- The step-by-step wedding photo timeline workflow
- Troubleshooting and common mistakes to avoid
- How to finalize and adapt your photo timeline
- What most couples get wrong about wedding photo timelines
- Next steps: Expert help for your Oahu wedding photo timeline
- Frequently asked questions
Key Takeaways
| Point | Details |
|---|---|
| Start with local logistics | Plan for Oahu’s unique venues, traffic, and weather to avoid stress on your wedding day. |
| Prepare your resources | Collect all necessary contacts, checklists, and timeline tools before you begin. |
| Follow a clear workflow | Use a sequenced photo timeline to make sure every key moment is covered from start to finish. |
| Allow for flexibility | Build in extra time and be ready to adapt for unexpected delays or island challenges. |
| Consult with experts | Partnering with an experienced Oahu photographer ensures nothing gets overlooked. |
Why a wedding photo timeline matters in Oahu
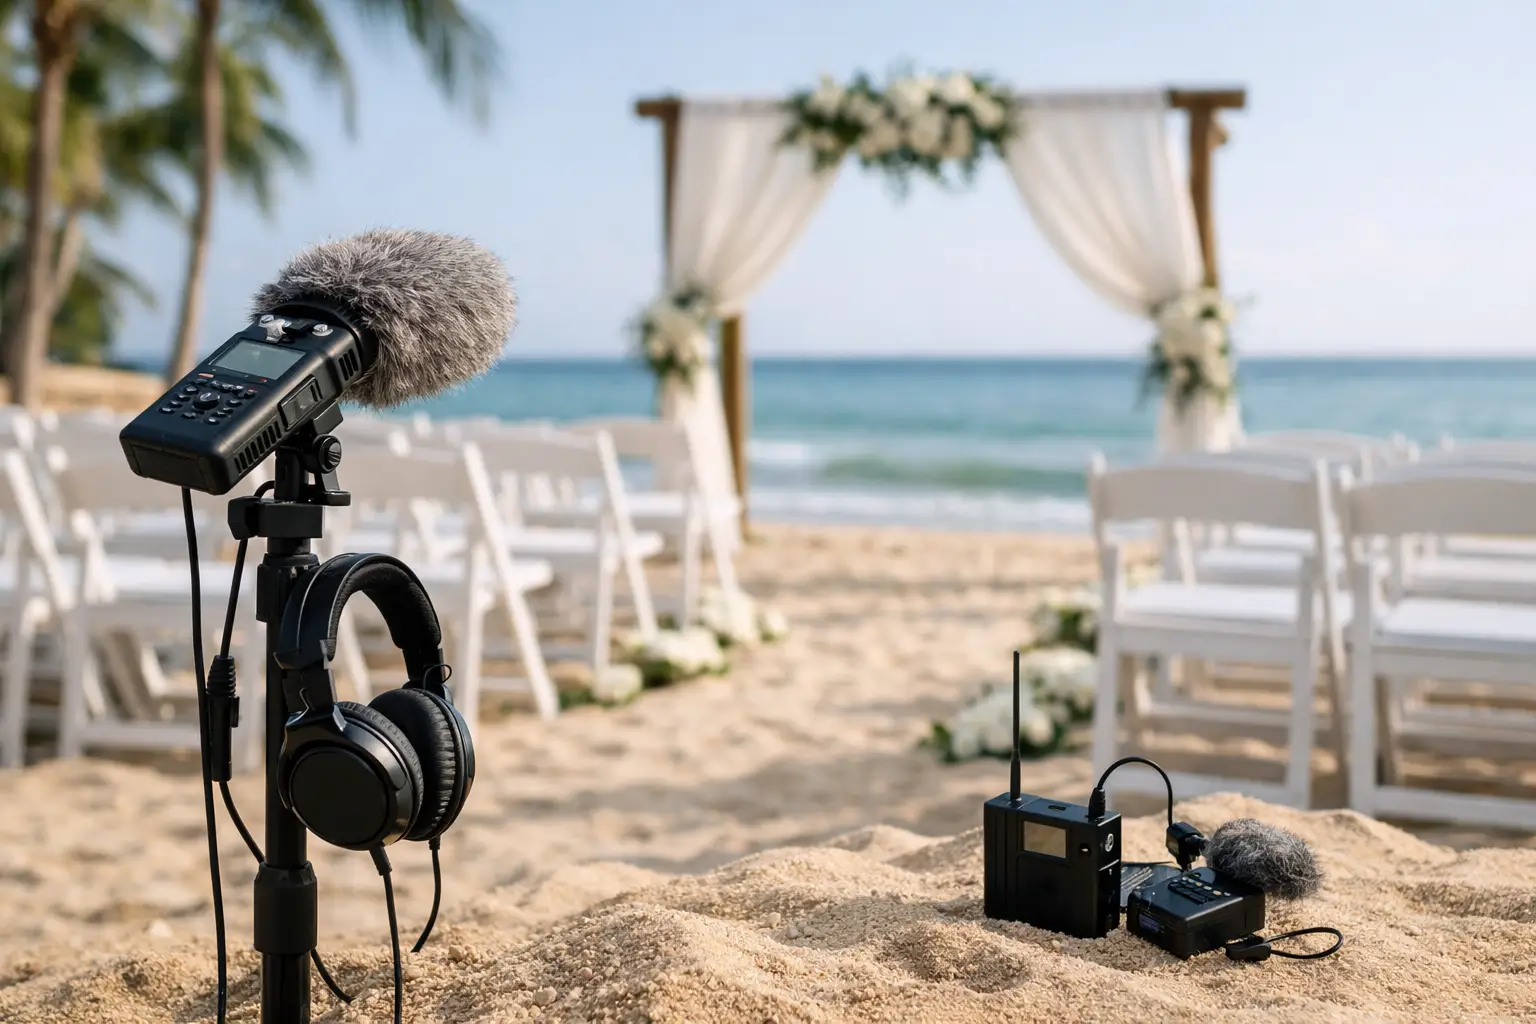
Oahu weddings come with a set of logistics that mainland couples never have to think about. Traffic on H-1 can turn a 15-minute drive into 45 minutes. Golden-hour light along the North Shore arrives and disappears fast. Outdoor ceremony permits at places like Waimea Bay or Kailua Beach have hard stop times. All of these realities make it impossible to just “wing it” and hope the photos work out.
A planned timeline does several important things at once:
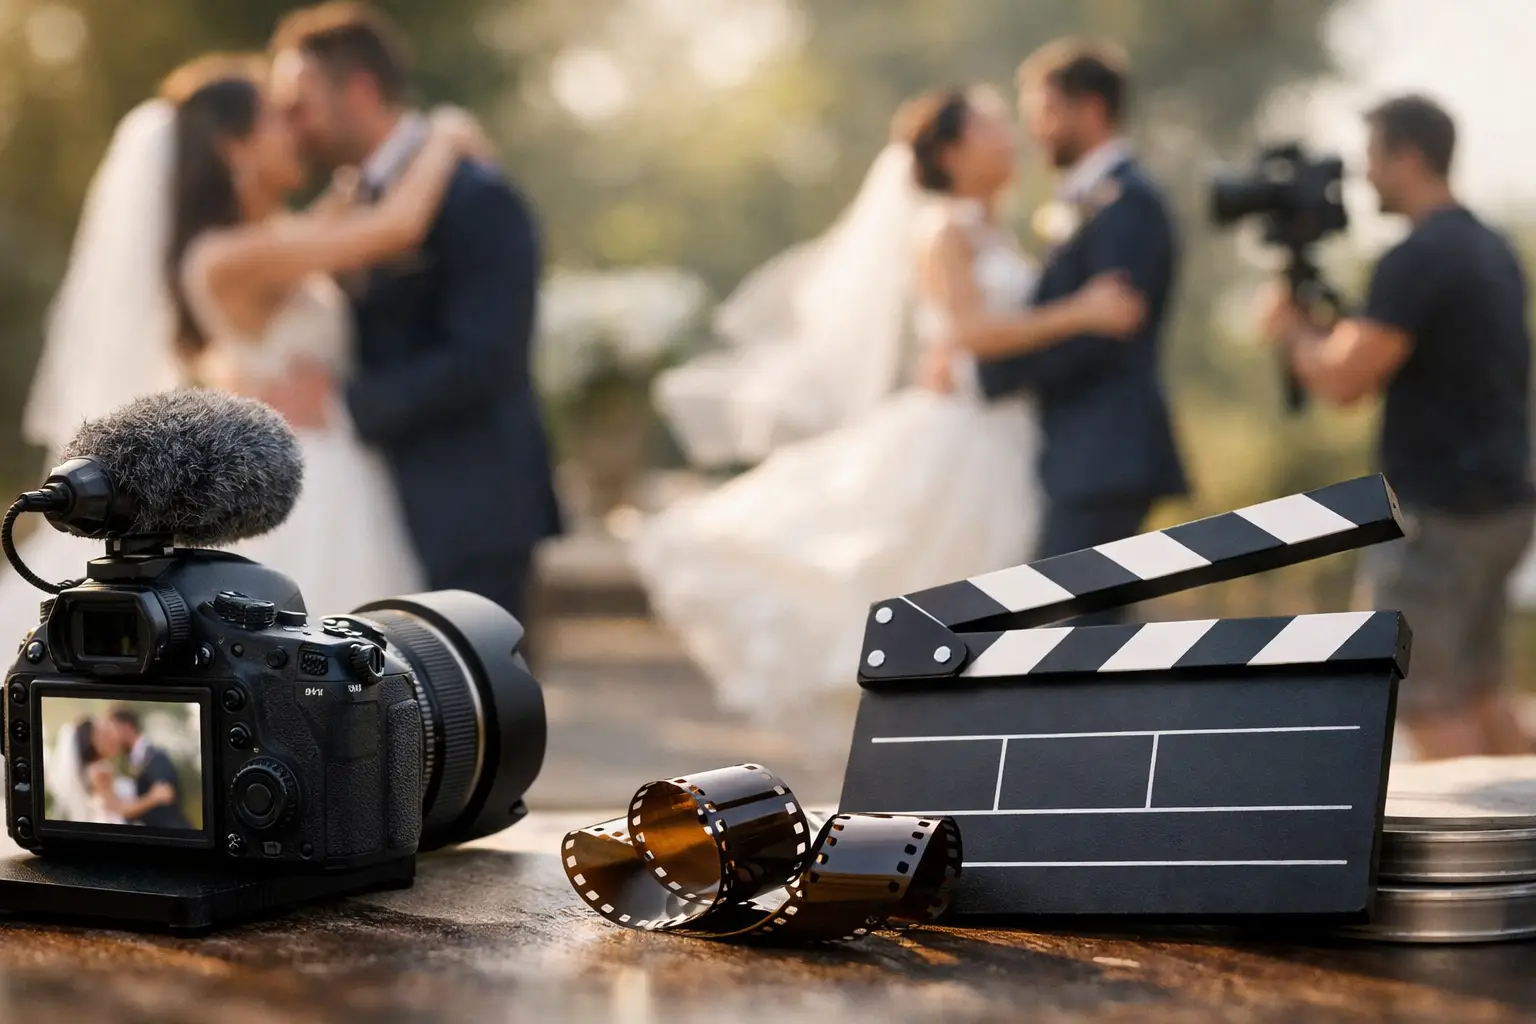
- It aligns your photographer, videographer, officiant, hair and makeup team, and family members on the same schedule
- It protects your access to golden-hour light, which is especially dramatic in Hawaii
- It gives your photographer enough buffer time to move between locations without rushing compositions
- It reduces the chance of missing critical moments like the ring exchange or the first dance
- It helps your vendors communicate clearly so no one is waiting around or overlapping
Planning a wedding photo timeline is one of the most effective things you can do before your wedding day. Research shows that well-planned timelines cut stress during photo sessions by roughly 40%, letting you actually enjoy the moments instead of managing them. When you work with experienced Oahu wedding media services, that number becomes even more believable because the photographer already knows the terrain, the light patterns, and the traffic quirks.
After setting up why timelines are essential, it’s time to gather your requirements.
What you need: Tools and info required for your timeline
Before you open a spreadsheet or download a planning app, gather every piece of information that will affect your day. Trying to build a timeline without all the details in front of you is like packing for a trip without knowing how long you’ll be gone.
Here’s what you need to collect first:
- Full contact list for the couple, immediate family, wedding party, officiant, photographer, and videographer
- Venue rules, including arrival times, hard stop times, and any restrictions on locations for photos
- A detailed wedding photo checklist moments document so nothing important gets skipped
- A weather backup plan, especially for outdoor beach or garden ceremonies
- A timeline template or app (Google Sheets works perfectly, or ask your photographer for their preferred format)
| Tool | Purpose | Free or paid |
|---|---|---|
| Google Sheets | Build and share timeline with vendors | Free |
| Zola wedding planner | All-in-one wedding organization | Free/Paid |
| The Knot app | Timeline templates and vendor contact | Free |
| Photographer’s custom template | Tailored to your specific venue | Free with booking |
| Weather app (Weather.com) | 24-hour monitoring of conditions | Free |
Pro Tip: Send your shot list to your photographer at least two weeks before the wedding. Expert planning leads to 40% less time wasted during photoshoots, which on a wedding day translates directly into more frames, better light, and a calmer experience for everyone involved.
The shot list deserves special attention. Don’t just write “family photos.” Break it down by specific groupings: parents of the bride, parents of the groom, siblings, grandparents, full wedding party, etc. A photographer working from a vague list will spend 10 minutes figuring out who belongs in each frame. A photographer working from a detailed list will move through those same groupings in half the time.
Now that you have your requirements, let’s map out the step-by-step workflow.
The step-by-step wedding photo timeline workflow
This is the heart of your planning. Follow this sequence and adjust the timing blocks to fit your specific venues, travel distances, and ceremony length.
- Getting ready (2 to 2.5 hours): This covers hair, makeup, dressing, and detail shots like rings, shoes, bouquets, and invitations. Don’t rush this window. It’s where the emotion starts and where photographers capture the story of the morning.
- First look (30 to 45 minutes): An optional but highly recommended private moment between the couple before the ceremony. It creates calm, generates beautiful images, and lets you do some couple portraits before everyone else arrives.
- Ceremony (30 to 60 minutes): Depends on your officiant and ceremony type. Religious ceremonies typically run longer. Build in 15 minutes of buffer on either side.
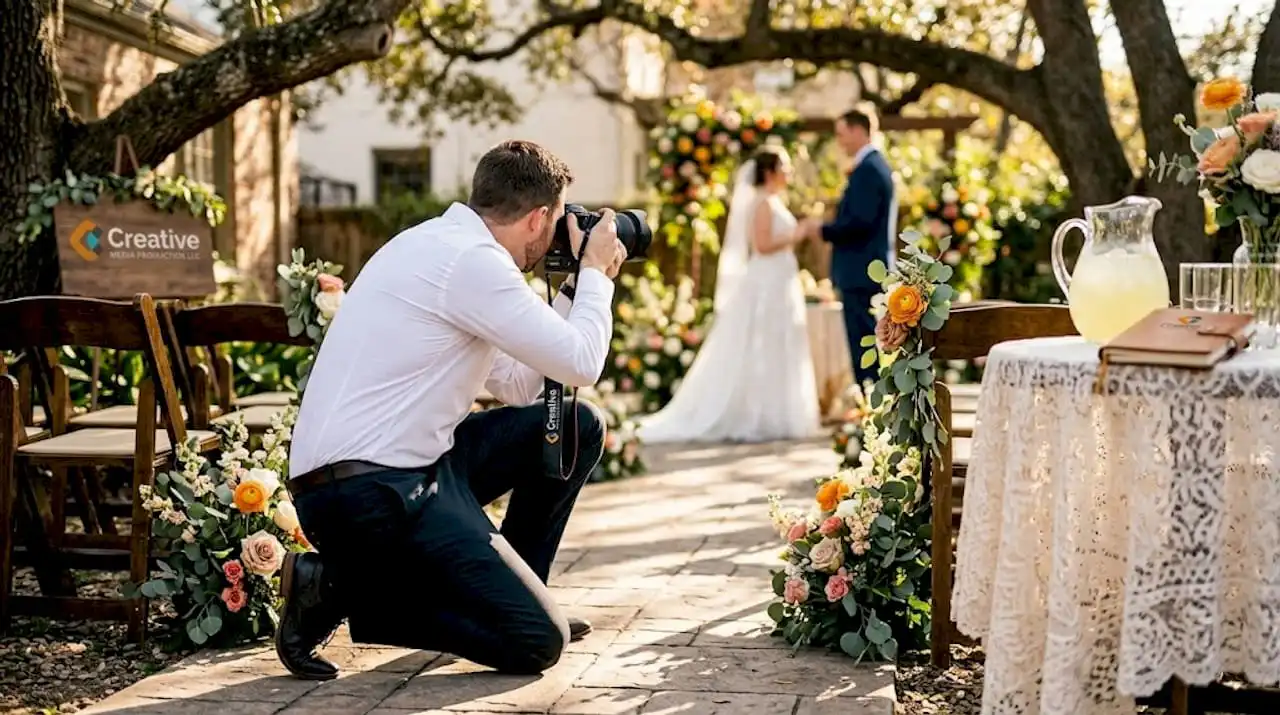
- Family and group portraits (30 to 45 minutes): Work through your shot list systematically, starting with the largest groups and moving to smaller ones. Dismiss people as you go so they can head to cocktail hour.
- Couple portraits (45 to 60 minutes): This is the creative session, ideally timed to catch golden-hour light. In Oahu, sunset times vary by season, so confirm the exact time for your wedding date and count backward.
- Reception (4 to 5 hours): Covers cocktail hour, grand entrance, toasts, first dance, dinner, cake cutting, and dancing. Each of these has its own mini-timeline within the larger event.
- Send-off (15 to 20 minutes): Sparkler exits, floral confetti, or a simple walk to the car. Whatever you plan, block the time and make sure guests are briefed.
| Phase | Traditional timeline | Modern timeline |
|---|---|---|
| Getting ready | 2 hours, separate locations | 2.5 hours, same venue |
| First look | Skipped, first sight at altar | 45 minutes before ceremony |
| Couple portraits | After ceremony only | Before and after ceremony |
| Golden hour session | Not prioritized | Built into schedule deliberately |
| Group photos | During reception | Between ceremony and reception |
Timeline planning with your Oahu photographer should happen during your consultation, not the week before the wedding. Questions for your wedding photographer like “How long do you need for golden hour portraits?” and “How do you handle travel between venues?” will shape the entire structure of your day.
Pro Tip: Add a 20-minute “float” buffer somewhere in the middle of the day, ideally between group portraits and couple portraits. This absorbs any delays from the morning and keeps the rest of the schedule intact.
Professional communication between couples and their photographer ensures clear expectations for every part of the wedding photography timeline. And working with professional services contributes directly to a stress-free experience on the day itself.
With your timeline created, ensure lasting success by knowing how to check and adapt it.
Troubleshooting and common mistakes to avoid
Even a well-built timeline can fall apart if certain details are overlooked. Here are the most common mistakes Oahu couples make and exactly how to fix them before they become problems.
- Forgetting island travel time: Oahu is not a large island, but traffic near Honolulu and Waikiki can be unpredictable. Build in at least 20 to 30 minutes of travel buffer between any two locations, more during peak hours on weekends.
- Underestimating getting-ready time: Hair and makeup almost always runs longer than expected, especially for larger wedding parties. If you have more than four people getting ready, start 30 minutes earlier than you think you need to.
- Not confirming logistics with vendors: Every vendor on your team should have a copy of the timeline at least a week before the wedding. Don’t assume everyone knows where to be. Confirm it explicitly.
- Vague shot list communication: Handing your photographer a generic list with “family photos” written on it creates confusion and eats into shooting time. Specificity saves time and saves memories.
- Skipping the weather backup plan: Oahu weather is generally beautiful, but rain showers are common, especially on the windward side. Know exactly what happens if it rains during your outdoor ceremony or golden-hour session.
“Double-check travel time between ceremony and photo spots. What looks like five minutes on a map can turn into 20 minutes on a busy Saturday afternoon in Waikiki.” This single adjustment has saved dozens of timelines that would otherwise have collapsed under the weight of traffic.
Organizing your Hawaii wedding photos starts before the wedding day, not after. The way you structure your timeline directly affects how your photos are organized chronologically, which makes editing, delivery, and album design significantly smoother for your photographer and more meaningful for you.
After troubleshooting, you can verify your plan and confidently approach your wedding day.
How to finalize and adapt your photo timeline
The final version of your timeline isn’t a document you file away and forget. It’s a living tool that you keep refining right up to the day before the wedding.
Here’s how to lock it in properly:
- Send copies to every vendor and VIP: Your photographer, videographer, florist, caterer, officiant, day-of coordinator, and any family members who are managing logistics should all have the same document. Use a shared Google Drive folder or email a PDF with clear version dating.
- Review and adjust for weather 24 hours out: Check the forecast the morning before your wedding. If rain is likely during your beach portrait session, move it earlier in the day when weather is typically clearer, or shift to a covered location.
- Keep both a digital and hard copy on hand: Phones die. Wi-Fi disappears. Print one clean copy and keep it in your day-of bag or give it to your coordinator.
- Designate a timeline point person: This is the single most underused strategy. Assign a detail-oriented friend, family member, or coordinator to watch the clock and gently keep things moving. Your photographer focuses on capturing. This person focuses on logistics.
- Build a rain shuffle plan: Know in advance which shots can move indoors, which locations have covered areas, and whether your venue has a backup space. Finalizing your timeline with an Oahu photographer who knows local venues means you get built-in flexibility for exactly these situations.
A finalized timeline that everyone understands transforms your wedding day from a series of managed tasks into a series of genuine moments. That’s exactly the shift you’re aiming for.
Now that the workflow is complete, let’s discuss some real-world perspective on what makes timelines succeed or fail.
What most couples get wrong about wedding photo timelines
Here’s something most planning guides won’t tell you: the biggest timeline problems aren’t caused by bad luck. They’re caused by a false belief that more structure equals more control.
Couples often build timelines that are so tightly packed that any small delay creates a cascade of stress. A ceremony that runs 10 minutes long shouldn’t derail your golden-hour portraits. But when there’s no breathing room built in, it does exactly that. The solution isn’t a looser timeline. It’s a smarter one with intentional flexibility baked into specific spots.
The other mistake we see consistently is building the timeline without the photographer’s input. You might not know that your dream beach spot at Lanikai requires an extra 15 minutes to park and walk to. You might not know that the light at your venue goes harsh between 1 PM and 3 PM, making that window basically unusable for portraits. A local photographer brings that knowledge automatically. When you co-create the timeline together, those details get absorbed into the plan before they become surprises.
Rigid schedules also tend to ignore human behavior. Family members get chatty during group photos. Someone always needs a few extra minutes after the ceremony. The couple wants to soak in a moment that wasn’t on the schedule. These aren’t problems. They’re the best parts of a wedding day. A timeline built with efficient photoshoot planning methods gives space for those natural pauses without sacrificing any critical moments.
The most successful timelines we’ve seen all share one thing: they were built collaboratively, reviewed honestly, and handed to a real human being who kept things moving on the day. Not an app. Not a spreadsheet. A person.
Next steps: Expert help for your Oahu wedding photo timeline
Building your photo timeline doesn’t have to be something you figure out alone, especially when you’re planning a wedding in a place as dynamic and visually rich as Oahu.

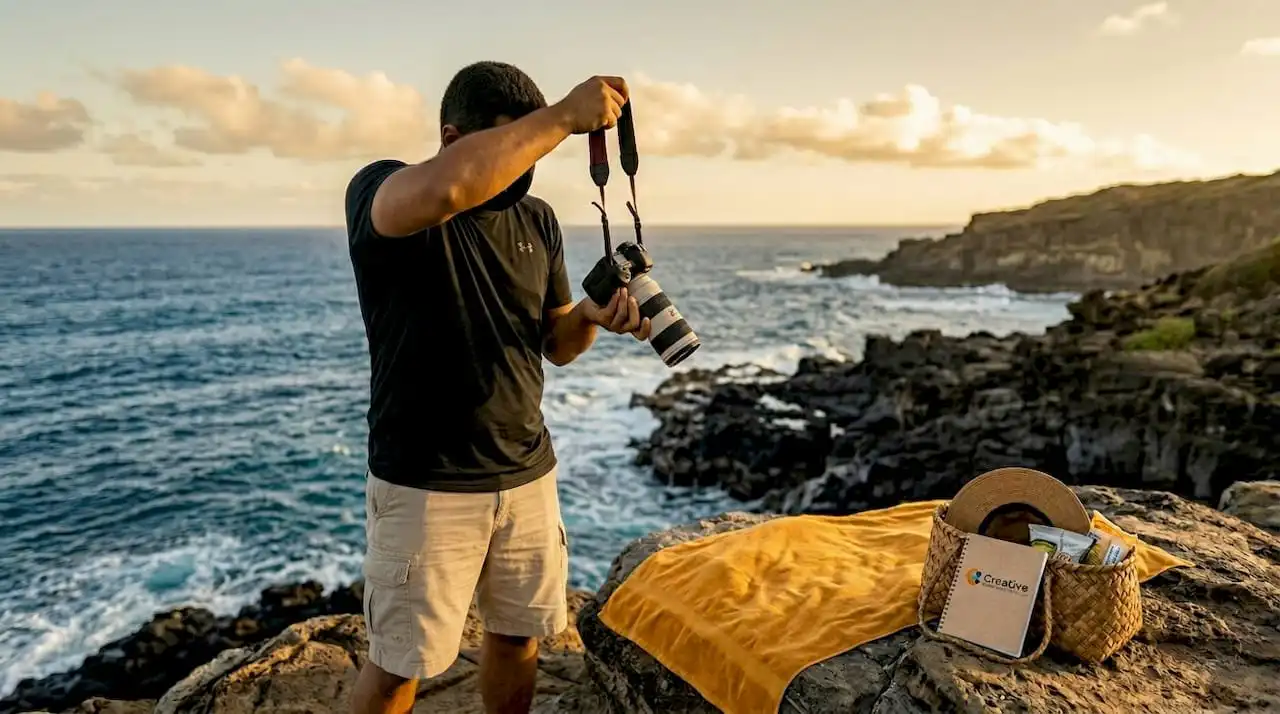
Working with an experienced event photographer in Oahu means your timeline gets shaped by someone who already knows the venues, the light, the traffic patterns, and the little local tricks that make a huge difference on the day. At Creative Media Production, we’ve spent over 15 years photographing weddings across Honolulu, Waikiki, Kailua, and beyond. Whether you’re still in early planning or finalizing details, our team can help you plan your Oahu wedding photo timeline with precision and creativity. Explore our full range of Oahu wedding media packages and reach out to start a conversation about your day.
Frequently asked questions
How long does a typical wedding photo timeline take in Oahu?
An Oahu wedding photo timeline usually spans 6 to 8 hours depending on the number of venues, the size of the wedding party, and whether a golden-hour session is included. Beach weddings with multiple locations often need the full 8 hours.
Should we schedule a first look photo session?
Scheduling a first look allows for quiet, emotional moments between the couple before the ceremony energy kicks in, and it also creates more flexibility in your overall timeline. You can learn more about how to structure this moment with your photographer during the planning consultation.
What should go into our Oahu wedding shot list?
Your shot list should include preparation moments, ceremony highlights, couple portraits, full family groupings, wedding party combinations, and sunset or beach sessions that are specific to Oahu’s landscape. A detailed wedding photo checklist helps make sure nothing important gets missed.
How do we adjust our timeline for Oahu weather?
Start monitoring the forecast 48 hours out and have a specific backup location or sequence already agreed upon with your photographer. Building weather flexibility into your timeline before the day arrives is far less stressful than making decisions in the moment.